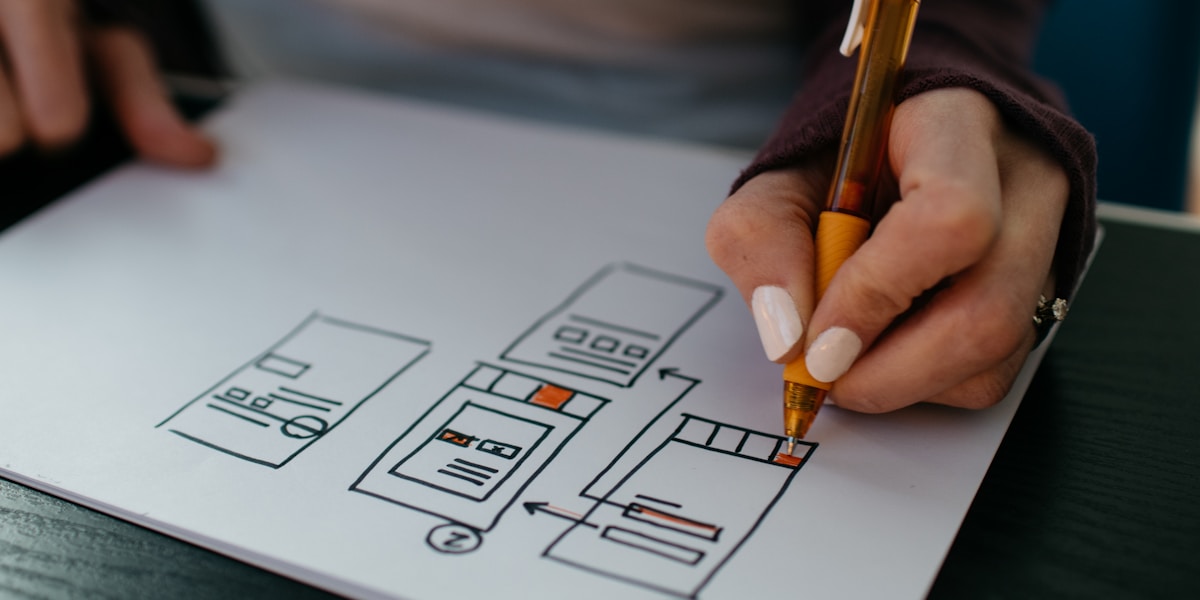
Understanding Core PDF Compression Settings
Getting the best result from PDF compression isn't about one magic button. It's about understanding a few key parameters and how they interact. Here's your complete guide to the settings that matter most:
📘 Info
🎯 The 6 Critical Compression Parameters
Optimized Compression Settings by Use Case
These recommended settings are a starting point. The best way to learn is to test them on a representative document from your own workflow.
Email Attachments
Goal: Get under 20-25MB limit for fast sending.
📋 Recommended Settings:
- Compression Level: High (target 70-80% reduction)
- Image DPI: 96-150 DPI
- JPEG Quality: 60-75%
- Color Space: RGB or Grayscale
- Metadata: Remove all
✓ Best for: Gmail, Outlook, Yahoo, and all major email providers.
Professional Printing
Goal: Preserve every detail for high-quality output.
📋 Recommended Settings:
- Compression Level: Lossless or Low
- Image DPI: 300-600 DPI
- JPEG Quality: 95-100%
- Color Space: CMYK (with correct ICC profile)
- Fonts: Embed All or outline text
✓ Best for: Commercial printing, brochures, magazines, portfolios.
Website Upload (SEO)
Goal: Fast loading for better user experience and SEO.
📋 Recommended Settings:
- Compression Level: Medium-High
- Image DPI: 150 DPI
- JPEG Quality: 70-80%
- Enable: Linearized (Fast Web View)
- Metadata: Strip non-essential data
✓ Best for: WordPress, portfolios, product catalogs, landing pages.
Digital Archiving
Goal: Long-term preservation with zero data loss.
📋 Recommended Settings:
- Compression Level: Lossless only
- Image DPI: Preserve original
- Algorithm: ZIP / Flate / LZW
- Format: PDF/A-1b or PDF/A-3
- Metadata: Keep all for searchability
✓ Best for: Legal documents, historical records, contracts, invoices.
Mobile Viewing & Ebooks
Goal: Tiny file size, readable on small screens.
📋 Recommended Settings:
- Compression Level: Maximum
- Image DPI: 72-96 DPI
- JPEG Quality: 50-65%
- Color Space: Grayscale if possible
- Image Size: Scale to screen width (e.g., 800px)
✓ Best for: Ebooks, user manuals, mobile apps, offline reading.
Business Reports & Presentations
Goal: Professional look with shareable size.
📋 Recommended Settings:
- Compression Level: Medium (40-60% reduction)
- Image DPI: 150-200 DPI
- JPEG Quality: 80%
- Preserve: Bookmarks, links, and form fields
- Color: RGB (for on-screen presentations)
✓ Best for: Board decks, proposals, client reports, data summaries.
Quick Settings Reference Table
Use this table as a quick cheat sheet when you need to decide on compression settings in a hurry.
| Use Case | Compression Level | Image Quality | DPI | Color Space | Final Target Size |
|---|---|---|---|---|---|
| High | 60-75% | 96-150 | RGB | < 20MB | |
| Professional Print | Lossless | 95-100% | 300-600 | CMYK | 10-100MB |
| Website | Medium | 70-80% | 150 | RGB | 1-5MB |
| Archive | Lossless | 100% | Original | Original | N/A (preserve all) |
| Mobile | Maximum | 50-65% | 72-96 | Grayscale | < 2MB |
| Business | Medium | 80% | 150-200 | RGB | 2-10MB |
Deep Dive into Advanced Compression Settings
For power users and professionals, these advanced settings provide granular control over the compression process.
🎨 Advanced Color Space Conversion
Converting from RGB to Grayscale can reduce the file size of black & white documents by 30-40% instantly. Use this for scanned text documents. Use CMYK only for commercial printing; it creates larger files than RGB but is necessary for accurate color reproduction on press.
✂️ Intelligent Object & Resource Removal
Go beyond simple compression. Advanced tools can detect and remove hidden layers, duplicate objects (like a background image on every slide), embedded thumbnails, form field data, and unused named destinations. This can save 5-15% on complex files.
📐 Page Box & Margin Cropping
Automatically detect and crop white margins or empty spaces around the content. This is incredibly effective for scanned documents or slides with large borders and can reduce size by 10-20% by removing thousands of "blank" pixels.
📝 Text & Font Optimization
Avoid converting text to outlines unless necessary (e.g., for a print shop), as it dramatically increases size. Instead, ensure fonts are subset. Also, look for settings to convert text to paths for specific elements only, or to remove emulated bold/italic styles.
⚠️ Professional Warning: Test Before Deployment
Advanced settings offer great power but can break functionality. Always test your compressed file, especially if it contains forms, JavaScript, 3D models, or specific color-critical images. Use a copy, not your only original.
Expert Recommendations by Document Type
Based on hundreds of client projects, these are the starting settings we recommend for the most common document types.
Frequently Asked Questions About Compression Settings
A: Web/Email/Mobile: 72-150 DPI | Standard Office Printing: 150-200 DPI | Professional Printing: 300 DPI | Fine Art/High-End Print: 600+ DPI. Higher DPI = larger file size, so don't use more than you need.
A: Significantly. Grayscale is the smallest (1 channel). RGB is next (3 channels). CMYK is the largest (4 channels). For a B&W document, converting from RGB to Grayscale can save 30-40% instantly with no perceived quality change.
A: For public sharing, yes, removing metadata (author, company, edit history) is good privacy practice. For internal or archival use, keep metadata as it aids in search and organization. Our tool lets you choose.
A: 75-85% is the "sweet spot" for most photos. Below 60%, visible artifacts like blocking and blurring appear. Above 90%, you get very little quality improvement for a disproportionately large increase in file size.
A: Avoid any setting related to "Flattening," "Discard Form Fields," or "Remove Annotations." Always use a compression tool that explicitly states it preserves form functionality, like ours does.
Find Your Perfect Balance
Experiment with these expert settings using our free, secure PDF compressor.
📄 Try Different Settings →