What is Audio Normalization?
Audio normalization is the process of adjusting the volume of an audio file to a consistent target level without introducing distortion or clipping. It analyzes the audio's current levels and applies gain (or attenuation) to bring it to the desired level.
📘 Info
📊 Why Normalization Matters
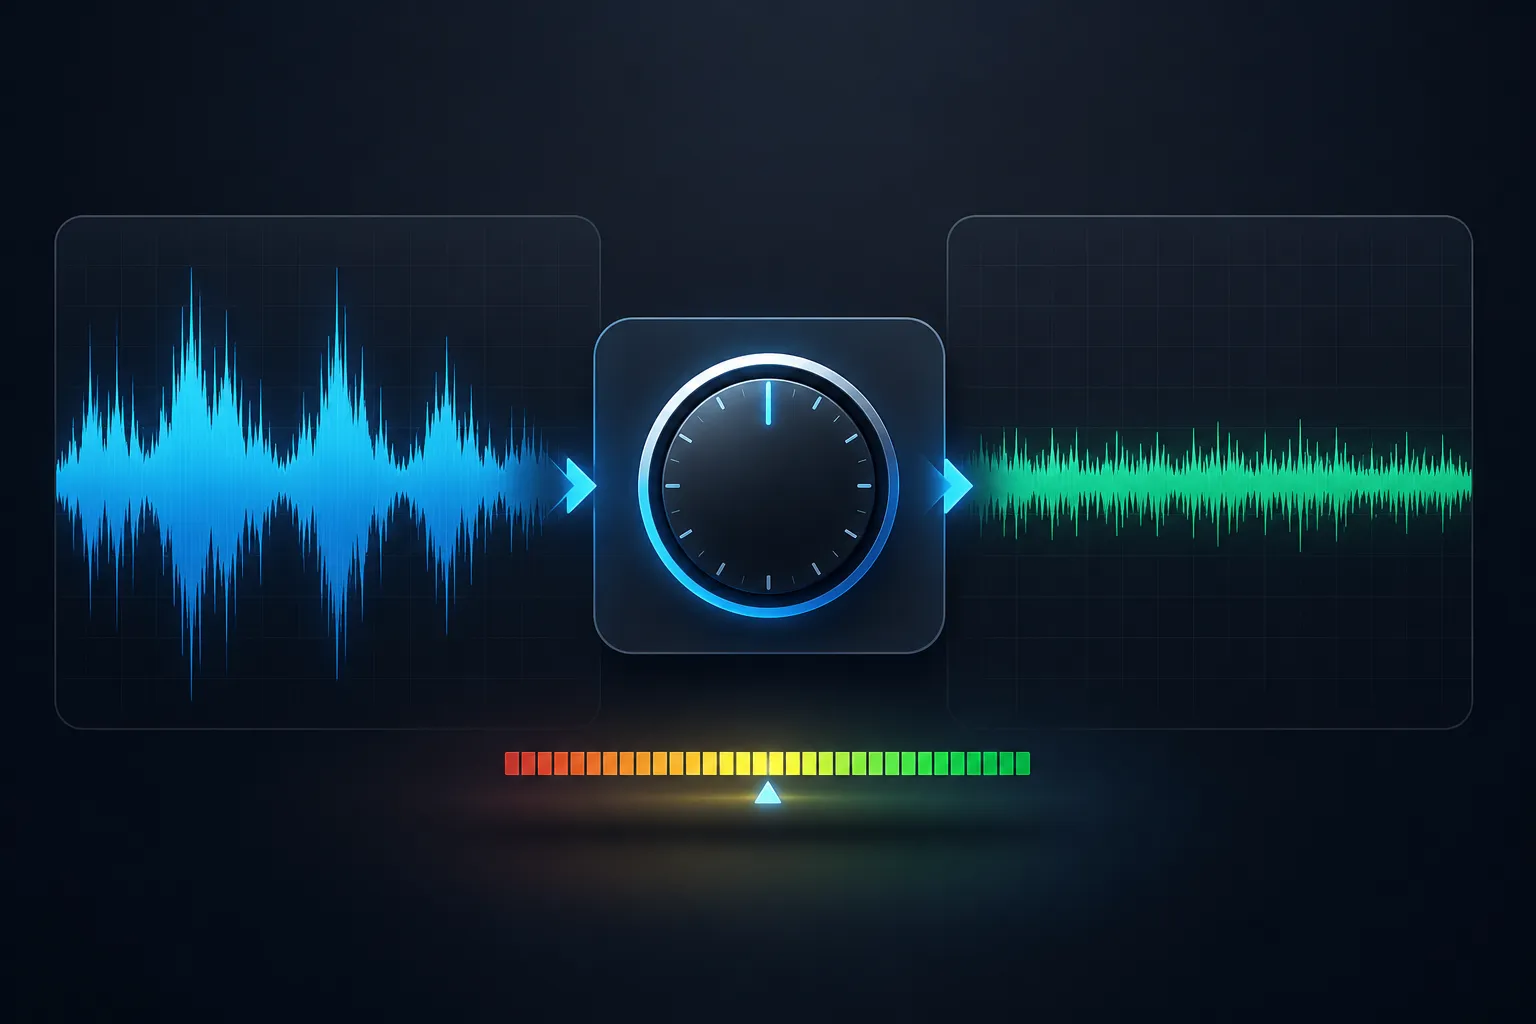
How Normalization Works
Normalization analyzes your audio file and calculates the current peak or average level. It then determines how much gain to apply to reach the target level. For example, if your audio peaks at -6 dB and you want it at -1 dB, it adds 5 dB of gain to the entire file.
🎛️ Normalization Formula:
Gain Applied = Target Level - Current Level
Example: Target -1dB, Current -10dB → Gain = +9dB
Benefits of Normalization
- Consistent Listening Experience - No more reaching for volume control between tracks
- Professional Presentation - Podcasts and playlists sound polished and professional
- Meet Platform Standards - Streaming services have specific loudness targets
- Better Headroom Management - Avoids clipping while maximizing volume
- Improved Accessibility - Quiet audio becomes audible without cranking volume
Peak Normalization vs RMS Normalization
Peak Normalization
What it does: Looks at the highest peak in your audio and adjusts gain so that peak reaches the target level.
Best for: Preventing clipping, ensuring no distortion, preparing for further processing.
Limitation: A song with one loud drum hit and quiet verses won't sound louder - only the peak matters.
RMS Normalization
What it does: Analyzes the average power (Root Mean Square) of your audio and adjusts to match target RMS level.
Best for: Making tracks sound equally loud, podcast episodes, music albums, playlists.
Limitation: Can cause clipping if the file has large peaks (use with peak limiter).
💡 The Real Difference
Peak normalization is like leveling a table by its highest point - you can still have quiet areas. RMS normalization is like leveling by average height - everything becomes more consistently loud. For modern audio, use RMS or LUFS normalization, not peak.
LUFS: The Modern Loudness Standard
LUFS (Loudness Units relative to Full Scale) is the international standard for measuring perceived loudness. Unlike peak or RMS, LUFS accounts for how humans actually hear sound at different frequencies.
| Measurement | What It Measures | Typical Range |
|---|---|---|
| Integrated LUFS | Overall loudness of entire track | -30 to -5 LUFS |
| Short-term LUFS | Loudness over last 3 seconds | For dynamic range analysis |
| Momentary LUFS | Loudness over last 400ms | For peak loudness detection |
| True Peak | Maximum peak (inter-sample) | -1 dBTP recommended |
| Loudness Range (LRA) | Variation between quiet/loud parts | Lower = more consistent |
🎧 Why LUFS Matters
Streaming services use LUFS to normalize all content to a consistent loudness. If your audio is too quiet, they'll turn it up (and may limit peaks). If it's too loud, they'll turn it down (preserving your dynamics).
Industry Loudness Targets (2025)
| Platform | Target Integrated LUFS | True Peak Limit | Action if Exceeded |
|---|---|---|---|
| Spotify | -14 LUFS | -1 dBTP | Turned down (no limiting) |
| Apple Music | -16 LUFS | -1 dBTP | Turned down |
| YouTube | -14 LUFS | -1 dBTP | Turned down (older content may be turned up) |
| Tidal | -14 LUFS | -1 dBTP | Turned down |
| Amazon Music | -14 LUFS | -1 dBTP | Turned down |
| Podcasts (Apple) | -16 LUFS | -1 dBTP | Turned up/down |
| Podcasts (Spotify) | -14 LUFS | -1 dBTP | Turned up/down |
| Broadcast TV (EBU R128) | -23 LUFS | -1 dBTP | Strictly enforced |
✅ Good to Know
🎯 Pro Tip: Master to -14 LUFS
Unless you're targeting broadcast TV (-23 LUFS) or Apple Podcasts (-16 LUFS), mastering to -14 LUFS is your safest bet. It works perfectly on Spotify, YouTube, Tidal, and Amazon Music.
Different Normalization Methods Explained
Peak Normalization
Adjusts gain so highest peak reaches target (e.g., -1dB). Does NOT affect perceived loudness. Use to prevent clipping.
RMS Normalization
Adjusts gain so average power reaches target. Makes tracks sound equally loud. Good for albums, playlists.
LUFS Normalization
Modern standard. Adjusts perceived loudness based on human hearing. Best for streaming platforms.
Which Method Should You Use?
- For Podcasts: LUFS normalization to -16 LUFS (Apple) or -14 LUFS (Spotify)
- For Music Albums: LUFS or RMS normalization for consistent track-to-track loudness
- For Streaming: Master to the platform's LUFS target (-14 LUFS for most)
- For Broadcast: EBU R128 standard (-23 LUFS)
- For YouTube videos: -14 LUFS with -1dB true peak
When to Normalize Audio (and When NOT to)
✅ DO Normalize When:
- • You're creating a podcast episode (consistent volume)
- • You're mastering an album (track-to-track consistency)
- • You're submitting to streaming platforms (meet loudness targets)
- • Your audio is too quiet (bring it up to a usable level)
- • You're creating a playlist (no volume jumps between songs)
❌ DON'T Normalize When:
- • Your audio already has good dynamic range and is loud enough
- • You're preserving a historic recording with intentional quiet passages
- • You have already limited the audio (normalization will do nothing)
- • The file has clipping/distortion (fix that first!)
- • You're doing critical mastering where dynamic range is important
Step-by-Step Guide to Normalizing Audio
First, understand your current levels. Use a loudness meter to measure your integrated LUFS, true peak, and dynamic range.
Select your target loudness based on platform: -14 LUFS for streaming, -16 LUFS for Apple Podcasts, -23 LUFS for broadcast.
Use our Audio Converter with normalization enabled, or your DAW's loudness normalization feature.
After normalization, ensure your true peak doesn't exceed -1 dBTP to avoid clipping on playback.
A/B test your normalized audio against reference tracks to ensure it sounds natural.
📘 Info
🔧 Using Our Audio Converter:
Simply upload your file, select output format, and enable the "Normalize Audio" checkbox in Advanced Settings. Our tool will automatically apply -14 LUFS normalization optimized for streaming platforms.
Common Mistakes to Avoid
Frequently Asked Questions
No! Normalization is a lossless process (assuming you're not clipping). It simply changes the volume. No data is thrown away or compressed.
Normalization changes overall volume. Compression reduces dynamic range (quiets loud parts, boosts quiet parts). Use compression for loudness, normalization for consistency.
After EQ. EQ changes frequency balance which affects perceived loudness. Normalize as one of your final steps.
Yes, but be careful. If the recording is extremely quiet, you may amplify background noise too. Ideally, record at proper levels and use normalization to fine-tune.
Streaming platforms apply their own normalization. Your -14 LUFS master will be played back at -14 LUFS on Spotify - exactly as intended!
Conclusion: Best Practices for Normalization
Target -14 LUFS
For streaming platforms
Use LUFS, not Peak
For perceived loudness
Check True Peak
Keep at -1 dBTP
Normalize Your Audio with Ease
Upload your file and let our tool handle the normalization - perfectly optimized for streaming platforms.
🎵 Normalize Audio Now →